Results 1 to 20 of 20
Thread: Restoring old pictures
-
24th May 2009, 05:55 AM #1
-
24th May 2009, 06:10 AM #2
Re: Restoring old pictures
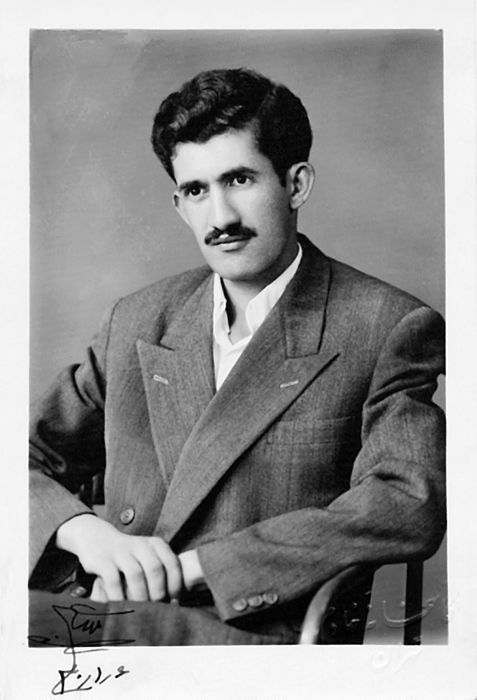
Use the Noise->Median filter set to 2 in photoshop. Alternately, lookup retouching with FFT (Fast Fourier Transform).
Last edited by kevinf; 24th May 2009 at 06:18 AM.
-
24th May 2009, 06:29 AM #3

- Join Date
- Dec 2008
- Location
- New Zealand
- Posts
- 17,660
- Real Name
- Have a guess :)
Re: Restoring old pictures
-
24th May 2009, 06:42 AM #4

- Join Date
- Dec 2008
- Location
- New Zealand
- Posts
- 17,660
- Real Name
- Have a guess :)
-
24th May 2009, 06:56 AM #5

- Join Date
- Dec 2008
- Location
- New Zealand
- Posts
- 17,660
- Real Name
- Have a guess :)
-
24th May 2009, 07:11 PM #6
Re: Restoring old pictures
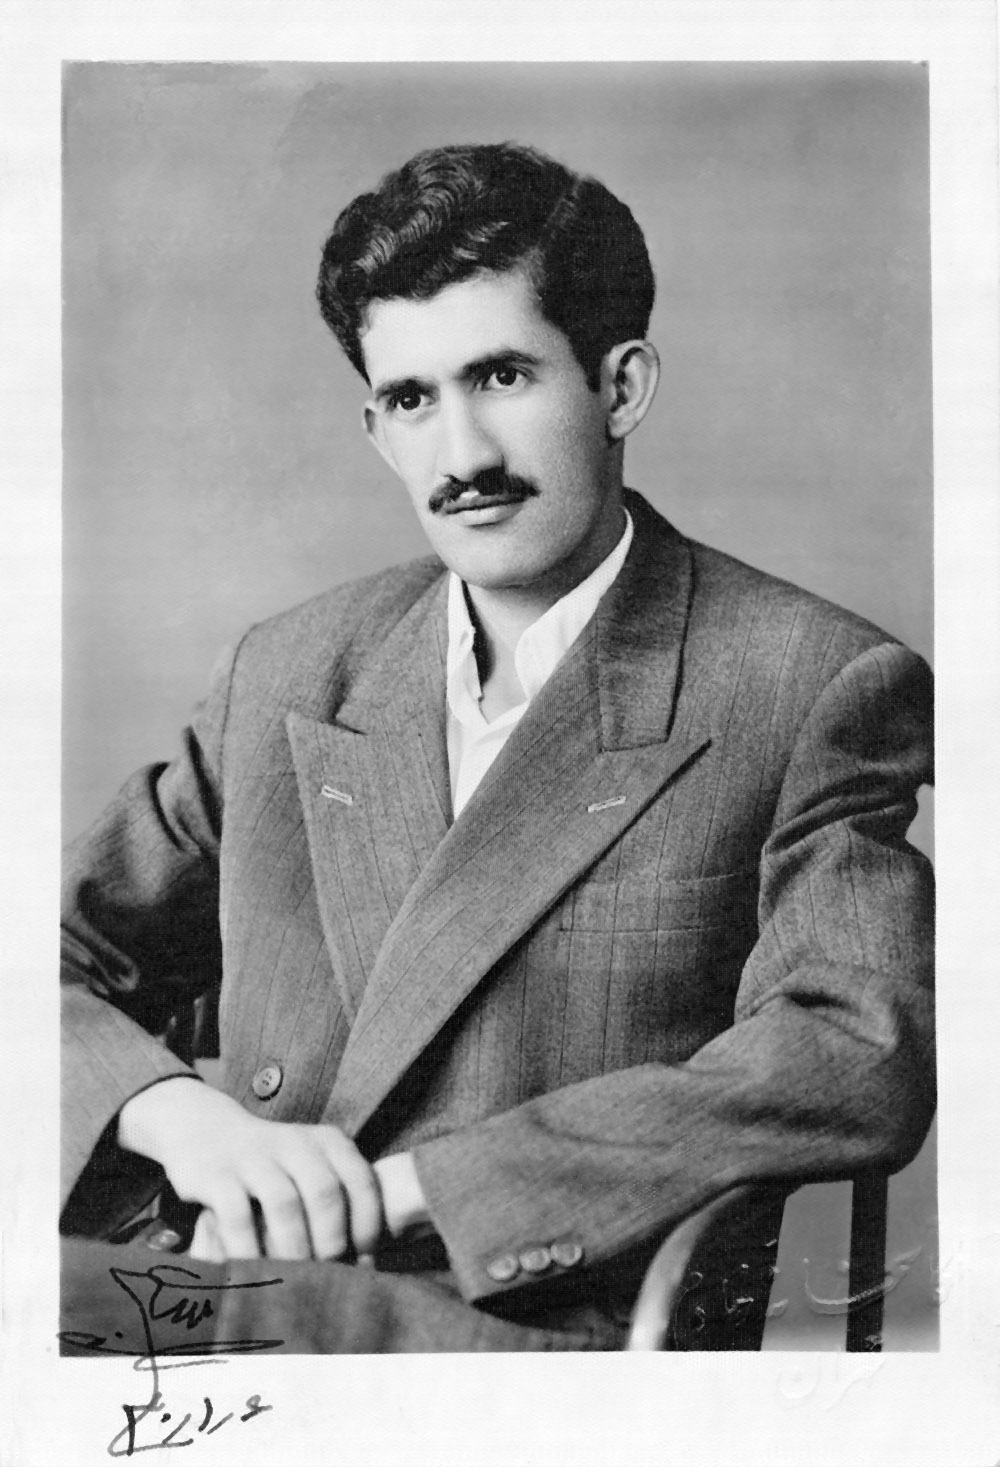
Thanks a lot, Colin. The second version definitely looks better but they both look a little bit posterized and not like a real picture anymore.
This is scanned at 1200 dpi resolution. Would reducing the scanning resolution help?
Also, I have tried taking picture of these but have not been able to overcome some lighting issues. There is always some glare in the picture. Besides, I thought if I take a high resolution picture of these, the same problem will be there and all the detail will show up again. Why do you think taking picture will be different?
-
24th May 2009, 08:33 PM #7
Re: Restoring old pictures
Hi Ali,
Doesn't the scanner software have an option for selecting what type of 'original' or 'source' it is?
They usually have a setting called Newsprint or Newspaper which does the gaussian blur bit on scanning so you don't end up with a moire pattern - which I (maybe mistakenly) am assuming this is.
Other things that might be worth a try;
Scan it sideways; i.e. rotate it by 90 degrees (if it will fit)
Scan it slightly twisted
A least a scan avoids the lighting issues with camera shooting.
The only other thing I'd say is; it's not going to be perfect, for 30 seconds effort, the 2nd one from Colin is quite good.
If you spend more time, more should be possible, this may well mean treating different picture elements; skin, suit, background, signature separately on layers and combining for the final result.
Hope that helps,
-
24th May 2009, 08:58 PM #8
Re: Restoring old pictures
Thanks, Dave. This is actually the "matte" finish of the print paper itself. These are almost 60 years old and the paper that the image is printed on has a sort of honeycomb texture to it.
I am actually doing what Colin suggested on a different picture with the same problem but as you suggested selectively and am getting good results. The amazing thing is that I thought I can do the Gussian blur on the face and then sharpen the face selectively and get rid of the pattern but when you do the sharpenning, the honeycomb pattern comes back to some extents. Like it is undoing what the Gussain blue did. I was thinking probably I should not use USM here for that same reason. Not sure if there is any other way to go after this problem.Other things that might be worth a try;
Scan it sideways; i.e. rotate it by 90 degrees (if it will fit)
Scan it slightly twisted
A least a scan avoids the lighting issues with camera shooting.
The only other thing I'd say is; it's not going to be perfect, for 30 seconds effort, the 2nd one from Colin is quite good.
If you spend more time, more should be possible, this may well mean treating different picture elements; skin, suit, background, signature separately on layers and combining for the final result.
Hope that helps,
Cheers.Last edited by Dave Humphries; 24th May 2009 at 09:29 PM. Reason: fix misplaced opening quote tag
-
25th May 2009, 01:53 AM #9

- Join Date
- Dec 2008
- Location
- New Zealand
- Posts
- 17,660
- Real Name
- Have a guess :)
Re: Restoring old pictures
The two are practially opposites. Sharpening defines edges and increases their contrast (even if they're edges that you don't want, like the pattern of the paper), whereas blurring decreases edge definition.
There are other techniques, but you'd be looking at a LOT of work to hand-touch up each image.
-
25th May 2009, 08:58 AM #10
Re: Restoring old pictures
If the honeycomb pattern can be reduced in amplitude to a certain level; say 3 (of your 256) by filtering, then you sharpen with a threshold of 4, it shouldn't bring it back up again. The downside is there could be other picture content at these levels you do want sharpening, but you can't have everything.
Hmmm, self doubt creeping in here;
a) does the threshold just exclude the lowest say, 4 levels above zero, or
b) any changes of 4 levels or less regardless of the absolute level they are sat on?
Obviously what I said only works if b) is true.
Cheers,
-
25th May 2009, 10:22 AM #11

- Join Date
- Dec 2008
- Location
- New Zealand
- Posts
- 17,660
- Real Name
- Have a guess :)
Re: Restoring old pictures
Hi Dave,
The filters (median, dust and scratches etc) are pixel or radius based - they have an effect on amplitude, but it's not something you can put a number on - so it doesn't equate to the numbers on a threshold control when sharpening, unfortunately (unless I'm missing something?).
Essentially we have a catch 22 here - filtering smooths out the honeycomb effect, but leaves the image soft - the sharpening that defines fine edges also defines the honeycomb effect (or if the threshold is set high enough doesn't define the honeycomb effect, but doesn't define the other edges either).
-
25th May 2009, 02:58 PM #12
Re: Restoring old pictures
Hi Ali
I think that what you have to do is leave some of the pattern in places where keeping the contrast and sharpness is more important. It must come from quite a small photo printed on textured paper? When restoring such things, you can take advantage of the fact that portraits were never perfect in the 'good old days' anyway.

-
25th May 2009, 03:42 PM #13
-
26th May 2009, 03:11 AM #14
-
31st May 2009, 12:25 AM #15
Re: Restoring old pictures
Sorry I did not see your post. I know FFT as a mathematical concept but is what you referring to a software I need to have to do this? Your result looks good, although again it somehow posterizes the image. I imagine there is a way of applying less correction to the picture using what you used?
Thanks.
-
31st May 2009, 12:50 AM #16
Re: Restoring old pictures
You probably thought of this but using dust and scratches, blur etc you can pretty much blitz it and then use clarity and sharp tools to restore detail but it will look too clean or posterisation is much more noticable so fine noise helps. I had this prob restoring a photo from around 1920s - 1930s taken in Tibet (needless to say not by me) with no chance to recapture since the person died in 1941. I managed to get it looking smooth but it was too plastic/fake looking but after a few uniform noise filters it looked ok. I found a reasonable amount of fine noise and a little touch of bigger grain noise made it look natural again. No doubt you considered this but mention just in case.
-
31st May 2009, 03:40 AM #17
Re: Restoring old pictures
Putting the exact phrase "retouching with FFT" into Google will net you the appropriate plug-in (free) and a few tutorials (easy). You can see how the FFT method is far and away superior in retaining fine detail to the other methods posted here.
To the second part of your reply; There is NO posterization in my sample, I believe you are seeing either an effect of not viewing the picture at 100% or there is simply banding on your monitor. There ARE minor deficiencies in my sample, but this was a quick n' dirty proof. Some minor work with the clone brush or other retouching tools should rectify any remaining issues.Last edited by kevinf; 31st May 2009 at 03:49 AM.
-
31st May 2009, 09:05 AM #18

- Join Date
- Dec 2008
- Location
- New Zealand
- Posts
- 17,660
- Real Name
- Have a guess :)
Re: Restoring old pictures
Thanks for the "heads up" on FFT Kevin - I've got a book on the say as we speak!
-
1st June 2009, 12:11 AM #19
Re: Restoring old pictures
Another method you might consider is not scanning the photo but using a good DSLR on a tripod to rephotogragh the photo. The advantage with this technique is that you can minimize the texture in the first place by arranging the lights around the photo. Any remaining texture will be easier to filter out in Photoshop using the techniques described in the other responses. The angle of light in scanners tends to maximize the texture when scanning. I got this idea from Digital Restoration from Start to Finish by Ctein, a book I recommend if you intend to do a lot of restoration.
-
4th June 2009, 02:16 AM #20

 Helpful Posts:

 Reply With Quote


