
 Helpful Posts:
 I regularly check sunspot activity. There is a useful website which gives a daily picture of the Sun imaged through various filters.
http://www.solarmonitor.org/
I'm only able to photogragh in full spectrum, but when an interesting sunspot(s) develop, I usually try a shot.
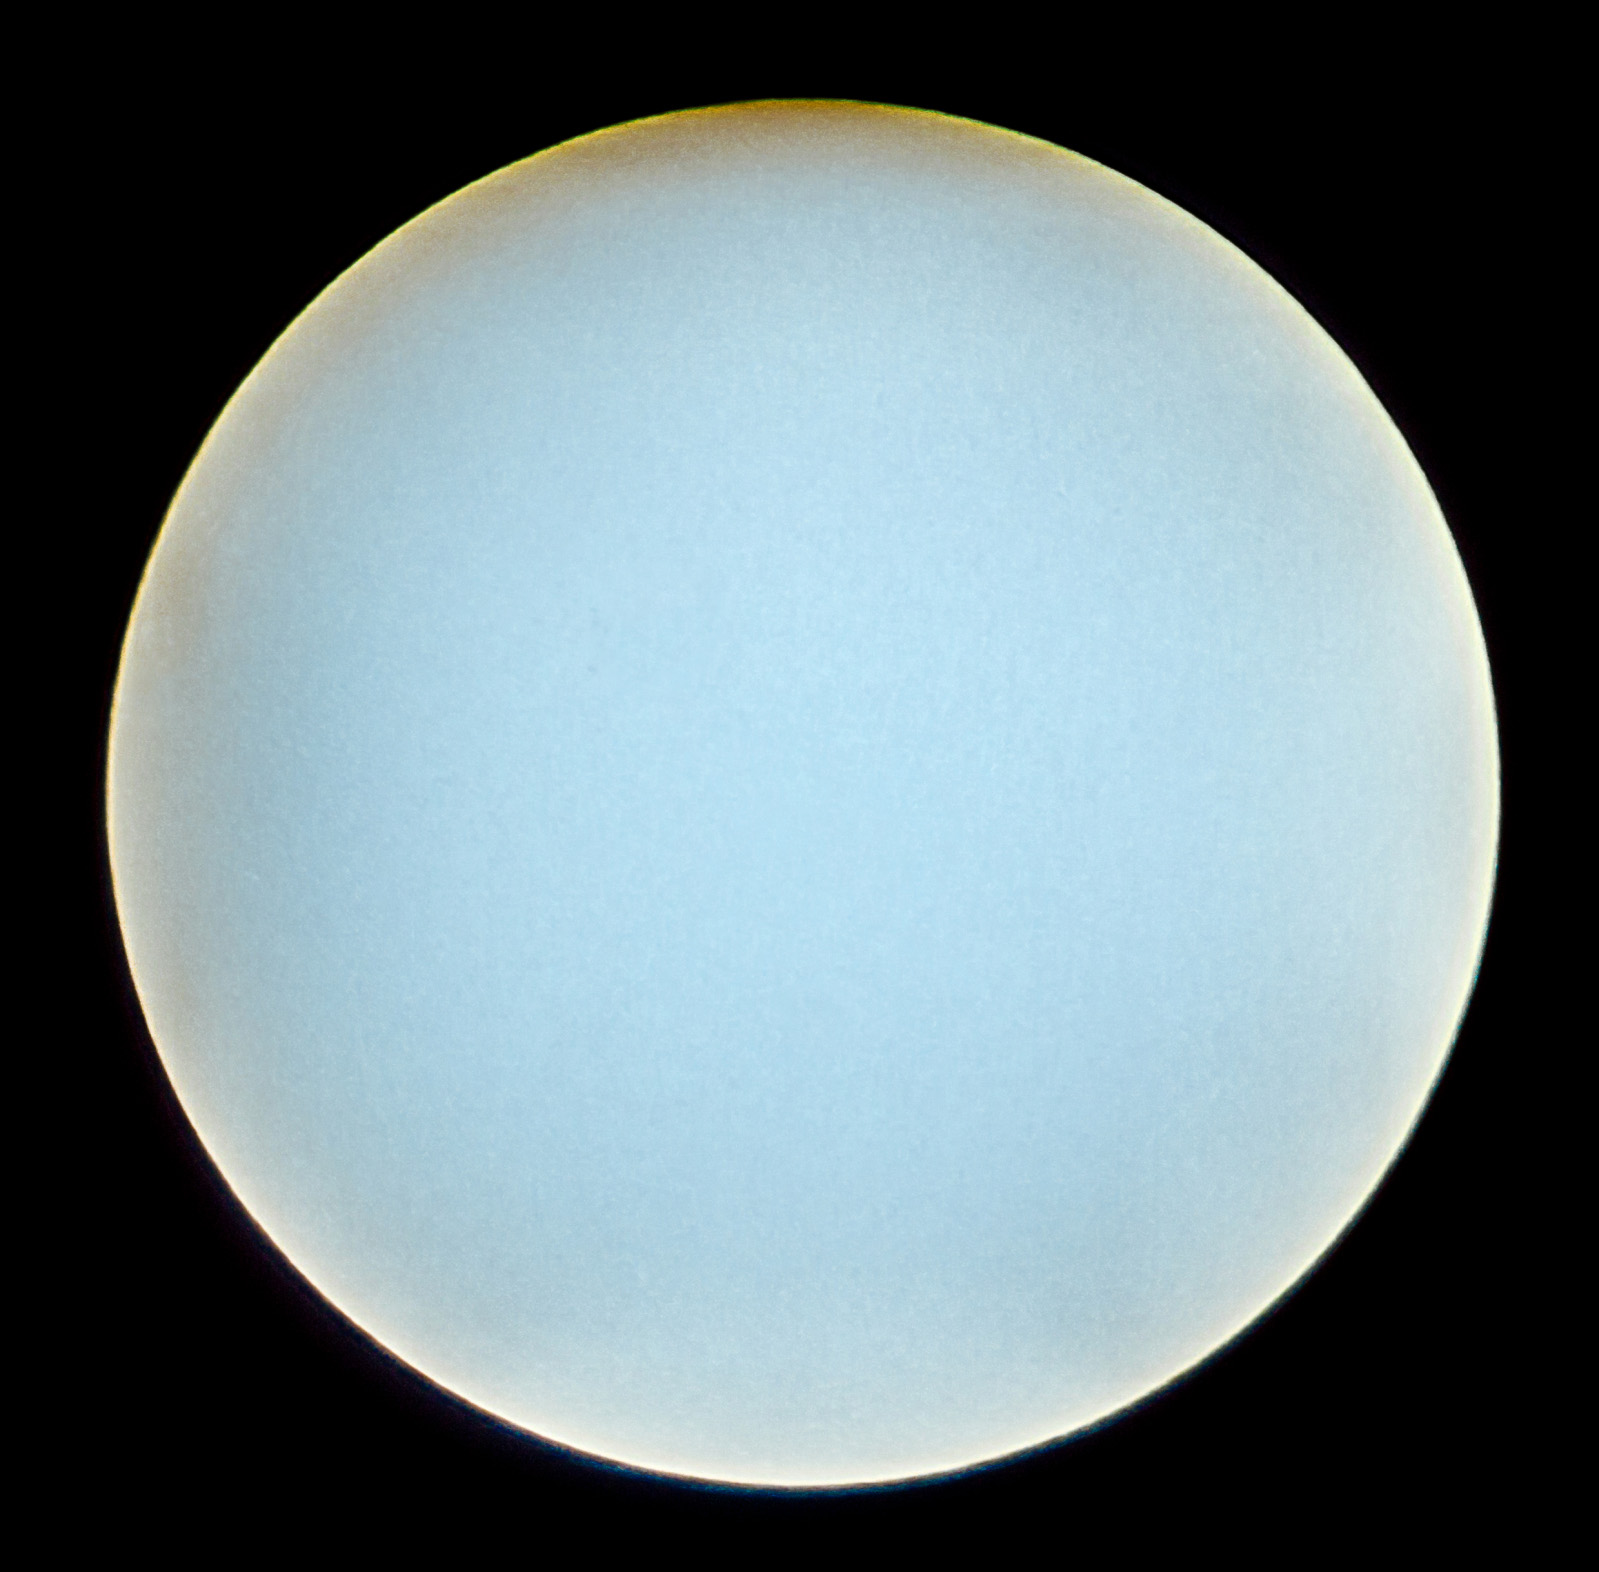
This last couple of days a whopper of a spot has developed so....
Best viewed in the lightbox and maximised to see detail of the sunspot
***I use a specialist Bayer filter to remove 99.9% of the light for this type. Normal high density photographic filters should never be used to try and photograph the sun's disc. ***

Results 1 to 3 of 3
Thread: Sunspot!
-
13th April 2016, 11:57 AM #1


- Join Date
- Dec 2009
- Location
- Birmingham UK
- Posts
- 1,471
- Real Name
- James Edwards
Sunspot!
Last edited by James G; 13th April 2016 at 12:22 PM.
-
13th April 2016, 06:10 PM #2Moderator

- Join Date
- Mar 2012
- Location
- Ottawa, Canada
- Posts
- 22,497
- Real Name
- Manfred Mueller
Re: Sunspot!
And a very easy fix in Photoshop (as is the CA).

All joking aside, this is definitely an interesting image. That is one long lens you are shooting with. The metadata says 1000mm! Is there anything special you need to do regarding atmospheric distortion or is that more of a ground effect problem that doesn't crop up why you shoot up into the sky?
-
13th April 2016, 09:32 PM #3
- Join Date
- Dec 2009
- Location
- Birmingham UK
- Posts
- 1,471
- Real Name
- James Edwards
Re: Sunspot!
I'm actually using a Sigma 50-500mm tele with a Sigma 2xDoubler on a Canon 7DMk2.Is there anything special you need to do regarding atmospheric distortion or is that more of a ground effect problem that doesn't crop up why you shoot up into the sky?
The Bayer filter is home made and fits over the Lens hood. Because it removes so much of the light, focus can be problematic because I need to focus manually when using the doubler.
The sun's edge is not particularly good for focus, contrast is too extreme to get the 'edge'. The normal trick of using peripheral vision for 'low light' subjects just doesn't work in this instance. Using the sunspots themselves is also problematical given the brightness of the disc vs the darkness of the sunspot. Slightly off and you lose the penumbra.
For capture settings, I've experimented with higher ISO, fast captures without mirror-lock vs lower ISO, longer exposures with mirror-lock. On balance I think I get better results with the latter.
Atmospheric distortion can be a nightmare, usually worse on still windless days, and inevitably gets worse with decreasing altitude.
Today the sun was at about 60deg. with a light cool breeze and a slight high altitude cloud haze. Because of the haze I only shot a sequence of 10 images, six of which could be aligned in a stack. Normally I shoot sequences of about 20 using a 5 second delay between mirror lockup and exposure. I then select the best to a max of 10
For stacking, I align manually from bottom up using a difference blend to highlight the quality of the individual layer overlay. 100% blackout means optimum alignment! The four I rejected all showed significant lightness/misalignment around the sunspot. My normal rejection point is somewhere about 85% blackout.
Once aligned I rearrange the stack to get decreasing image sharpness from the bottom up and then blend the stack by changing the % opacity of each layer using the sequence 100,50,33,25,20....
Final processing is to then apply sharpening to bring out Sunspot and surface white spot detail (if possible ).
I have a wavelet sharpening action I put together a few years back which I still use that does a good job, but, if I'm honest since Smart Sharpen came along it probably does as good a job.


 Reply With Quote