
The voting has now closed on PP Challenge #12 (which you can find here) and the result is that, in 2nd place, we have ....................
James with:
And a very clear 1st place goes to ..................
Peter with ....
Peter is now invited to talk us through what he did to create this image, as well as providing the file for the next challenge, which will be along in a few days time.
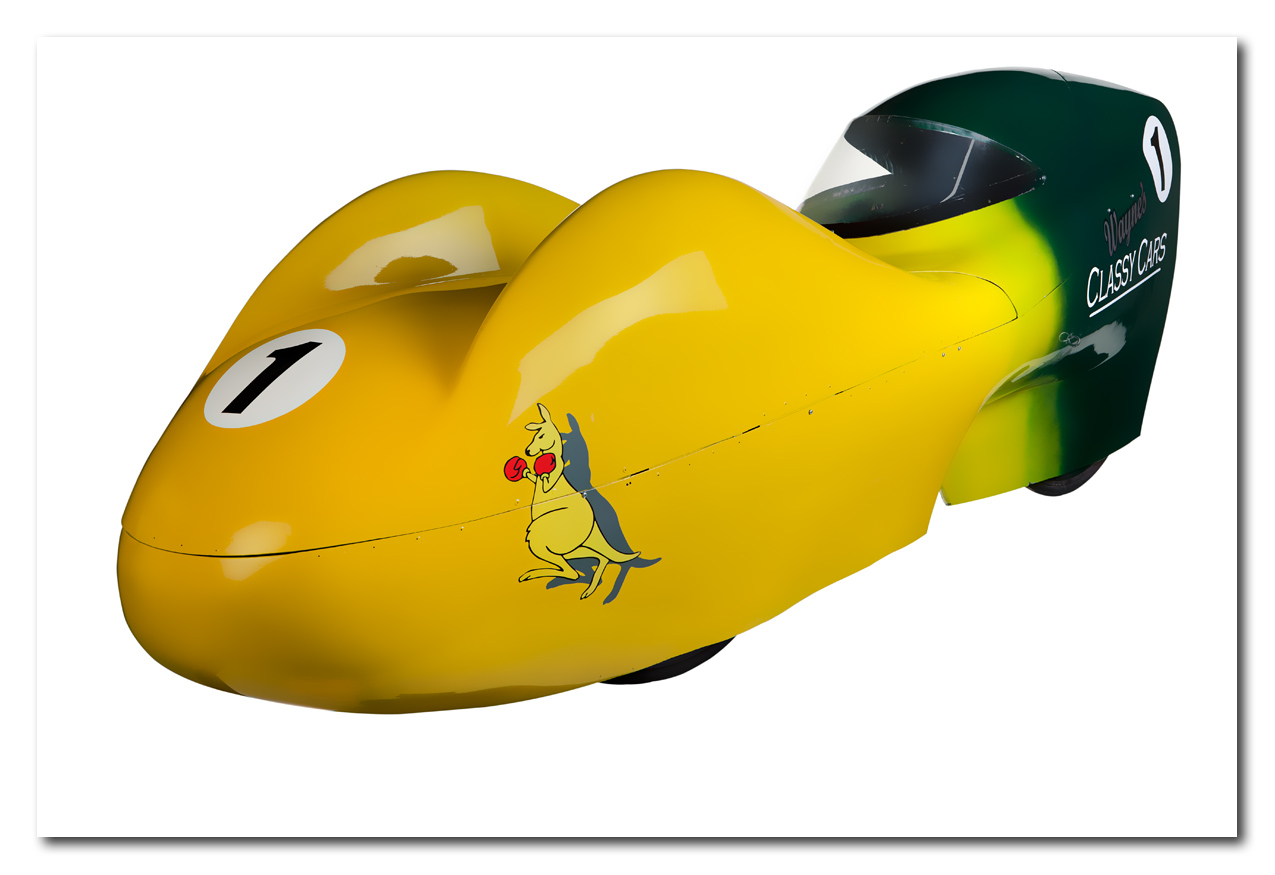
But on this occasion we also ask Colin Southern, who was the photographer commissioned by a movie production company to make still images using this 'thing' that features in the movie, to tell us about that commission. Colin will show us the final image that was used in the movie materials and tell us what he did in terms of the shot and the processing.
 Helpful Posts: 0
Results 1 to 4 of 4
Thread: PP Challenge #12 - THE RESULTS
-
7th June 2012, 07:23 AM #1Moderator


- Join Date
- Feb 2009
- Location
- Glenfarg, Scotland
- Posts
- 21,402
- Real Name
- Just add 'MacKenzie'
PP Challenge #12 - THE RESULTS
Last edited by Donald; 7th June 2012 at 07:31 AM.
-
7th June 2012, 08:19 PM #2
- Join Date
- Dec 2008
- Location
- New Zealand
- Posts
- 17,660
- Real Name
- Have a guess :)
Re: PP Challenge #12 - THE RESULTS
Hey Folks,
I must remember to point the producer at the competition entries thread -- I'm sure he'll find the entries fascinating!
Some wonderfully creative efforts there - for the movie (Kiwi Flyer) (http://www.stuff.co.nz/nelson-mail/n...-for-screening) they just wanted some standard / cleaned up studio shots of the trolley through (down hill cart racer) (this I believe was the villan's cart -- movie is being released here in a few months -- can't wait to see it).
-
8th June 2012, 07:04 AM #3
- Join Date
- Apr 2011
- Location
- Gold Coast, Queensland, Australia
- Posts
- 200
- Real Name
- mehere
Re: PP Challenge #12 - THE RESULTS
Many thanks for the votes. Really good task this time and I learnt a bit in the process.
The steps:
1) Wanted to create a 1950s, B grade movie, Saturday night at the drive-in, sort of feel. So cloned out kangaroo and wheel arch reflections as they didn't fit the feel I wanted.
2) Used PS magnetic lasso and then refined edge to remove unwanted background.
3) Used lasso tool to select and cut bonnet, rotated the layer and then used warp to make the perspective a bit more believable. Didn't flatten at this stage as the angle of the bonnet needed to be fine tuned later. It looked like this....

4) Used a stock pic of a werewolf from Kozzi. (You are allowed to download one a day for free so I did) This is the pic.....

5) Needed to stretch the mouth without deforming front fangs so used warp for the initial stretch then puppet warp to extend the back of the tongue.
6) Layered the stretched werewolf onto the car, adjusted the bonnet angle to match the mouth. Made sure that drivers side window was obscured as that was always going to be a difficult area to make work. Layer masks to blend the parts together then flatten. It looked like this.....

7) Took pic of local caryard which already has a car in position, hence the idea. Three bracketed exposures and then photomatix pro, exposure fusion (not HDR). Flipped it horizontally, straightened, cropped, desaturated and then darkened it right down so that it had the appearance of dusk. This is the original pic...

8) Car in position then layer mask to put details in front of the car to make it look as if was in the building. Adjusted light and contrast to match building. Flattened. This is what it looked like.

9) Grabbed a pic of the moon from the net from somewhere. Feathered edges and put into position. Layer mask to blend it in. Then flattened.
10) Duplicated then lightened top layer, then layer mask set to hide all. Change to reveal and used large brush set to 0% hardness with about 5% flow to gradually lighten rings around the moon. Then smaller brush to gradually build up highlights of moonlight reflecting on surfaces.
11) Downloaded dripping script font, readily available and free. Set font colours, put in position and flattened. Final adjustment of brightness and contrast. Finished.
Hope that all makes sense. happy to answer any questions if what I have written sounds like gibberish.
Again thanks for the votes, looking forward to the next one.
PeterLast edited by conkerwood; 8th June 2012 at 07:12 AM.
-
10th June 2012, 10:25 AM #4

- Join Date
- Jul 2011
- Location
- Victoria Australia
- Posts
- 600
Re: PP Challenge #12 - THE RESULTS
Very well done Peter, thanks very much for the explaination, you put alot of work into the image


 Reply With Quote