
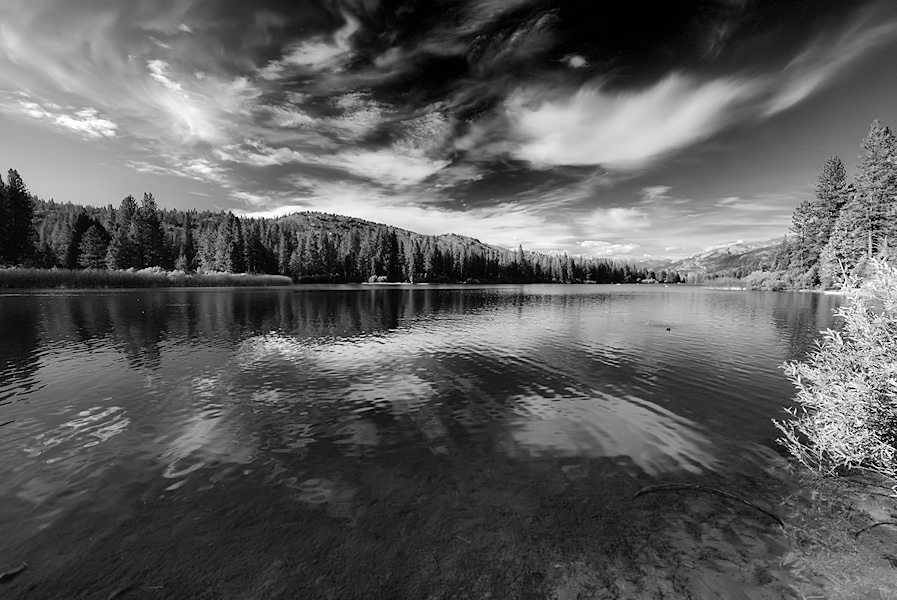
Here's a B&W image I converted last night using a new technique, Channel mixer plus curves for local contrast. The technique is described in this article.
 Helpful Posts: 0
Results 1 to 5 of 5
Thread: Clouds over Hume
-
3rd November 2009, 06:36 PM #1


- Join Date
- May 2009
- Location
- Downey, CA
- Posts
- 194
Clouds over Hume
Last edited by eNo; 3rd November 2009 at 08:32 PM.
-
3rd November 2009, 06:50 PM #2
- Join Date
- Oct 2009
- Location
- USA - California
- Posts
- 445
Re: Clouds over Hume
Cool shot eNo!
Don't be afraid to go a little more extreme in PP. The stamp tool can get rid of the duck and a few spects on the water to make pure glass. The bush on the far right of the image is extremely bright.
Good job
-
3rd November 2009, 07:05 PM #3
- Join Date
- Jan 2009
- Location
- South Devon, UK
- Posts
- 14,423
Re: Clouds over Hume
As an alternative, I sometimes include a Hue/saturation Adjustment Layer below the Channel Mixer layer and play around with the Hue slider to see if it creates a better image.
In reality this changes the colours of your original image so, for example, can totally alter the sky contrast.
It doesn't always work but can sometimes add that little bit of 'pop' when nothing conventional looks right. And being on an Adjustment Layer you can easily hide or delete the layer if you don't like the result.
-
3rd November 2009, 07:05 PM #4
- Join Date
- Nov 2009
- Location
- Essex
- Posts
- 11
Re: Clouds over Hume
I like the image, it has great contrast without blowing out the whites. Just bothered a little by the bush on the right, being so bright it is a bit distracting.
-
3rd November 2009, 08:33 PM #5
- Join Date
- May 2009
- Location
- Downey, CA
- Posts
- 194
Re: Clouds over Hume
Funny.
I like the bright bush because of the IR feel to it. I might look into toning it down, though.

 Reply With Quote